Email "Send As" Configuration Guide
Step-by-step instructions to set up email alias sending for different clients
 Mozilla Thunderbird
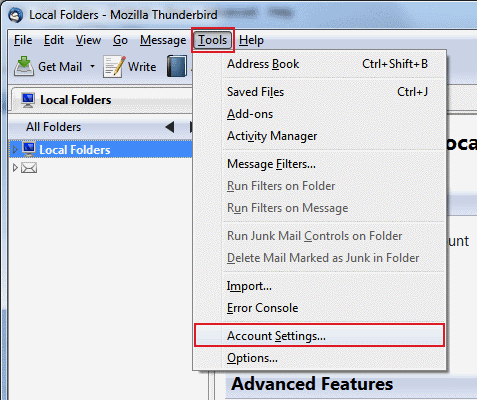
- Open Thunderbird and go to Account Settings from the menu or by right-clicking your account.
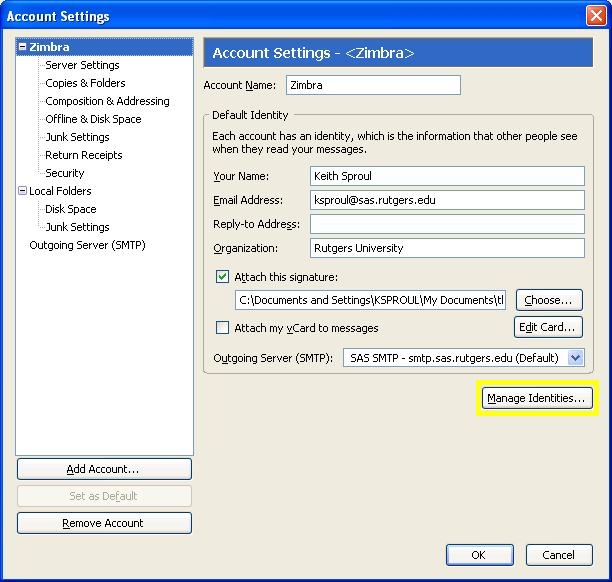
- In the Account Settings window, click on "Manage Identities" button.
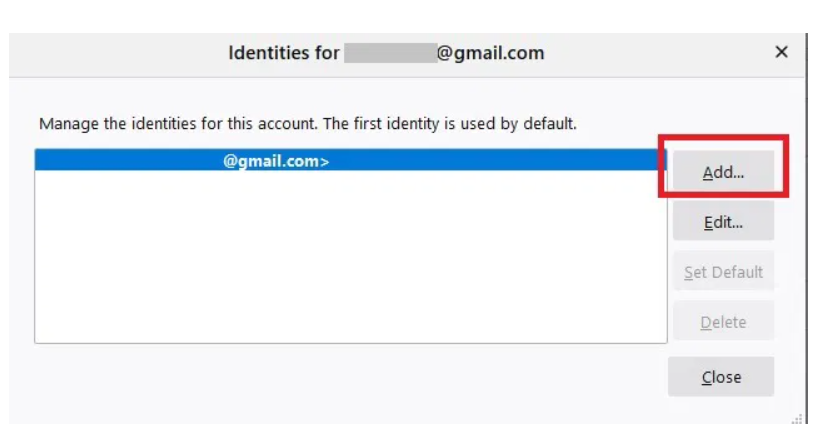
- In the Identities window:
- Click "Add" to create a new identity
- Set the email address to demo@your-name.com
- Configure other settings as needed (name, organization, etc.)
- Click "OK" to save changes, then restart Thunderbird for changes to take effect.
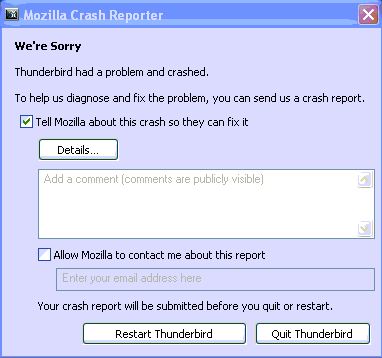
Note: Thunderbird may take a few minutes to fully apply the changes after restart.
 Microsoft Outlook
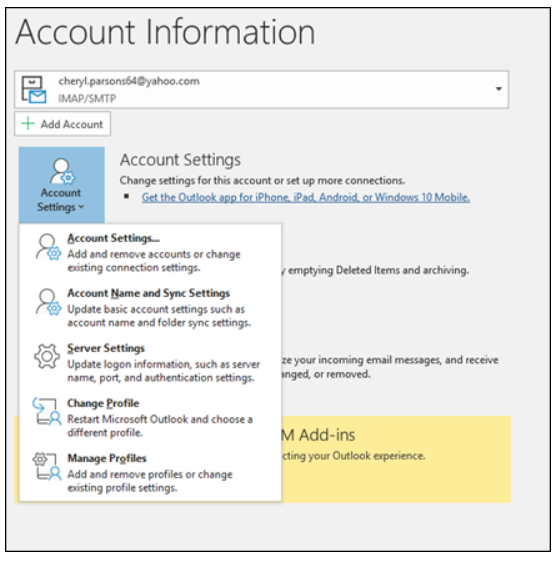
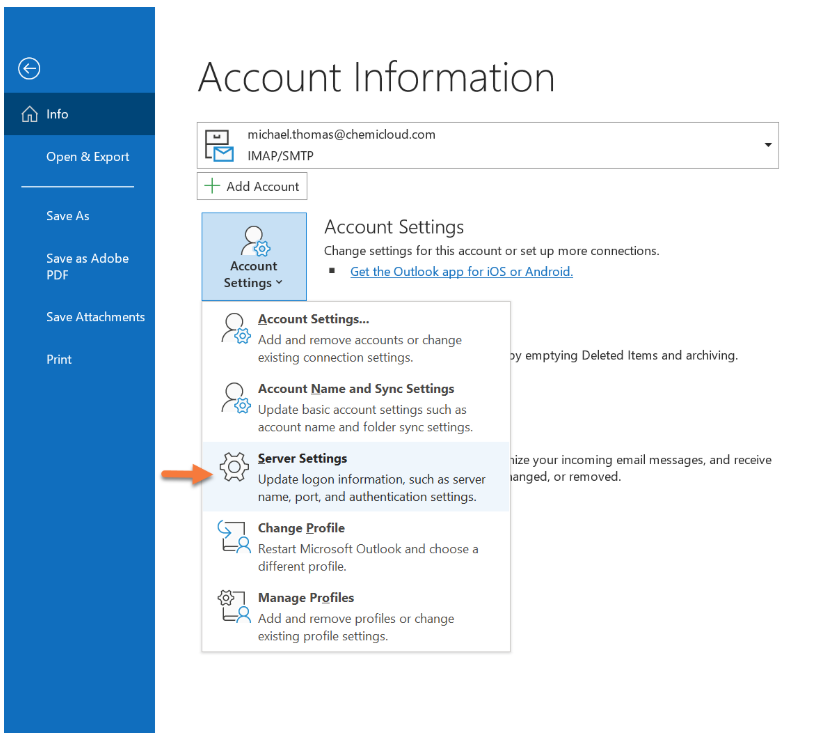
- Go to File > Account Settings > Account Settings.
- Select your primary email account from the list and click "Change".
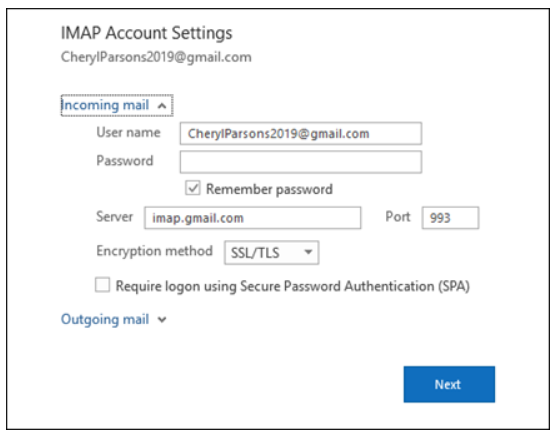
- In the Change Account window:
- Click "More Settings"
- Navigate to the "Send As" tab
- Enable the option and enter demo@your-name.com
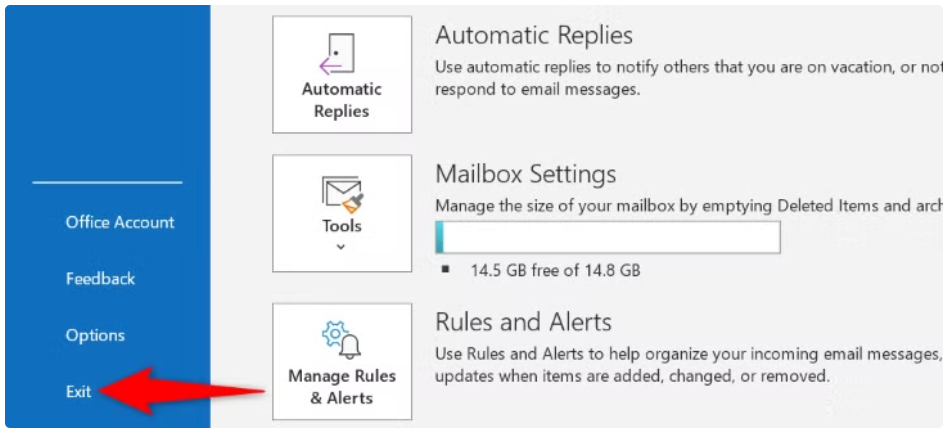
- Click "OK", then "Next" and "Finish". Restart Outlook to apply changes.
Important: Outlook may require administrator privileges to make these changes.
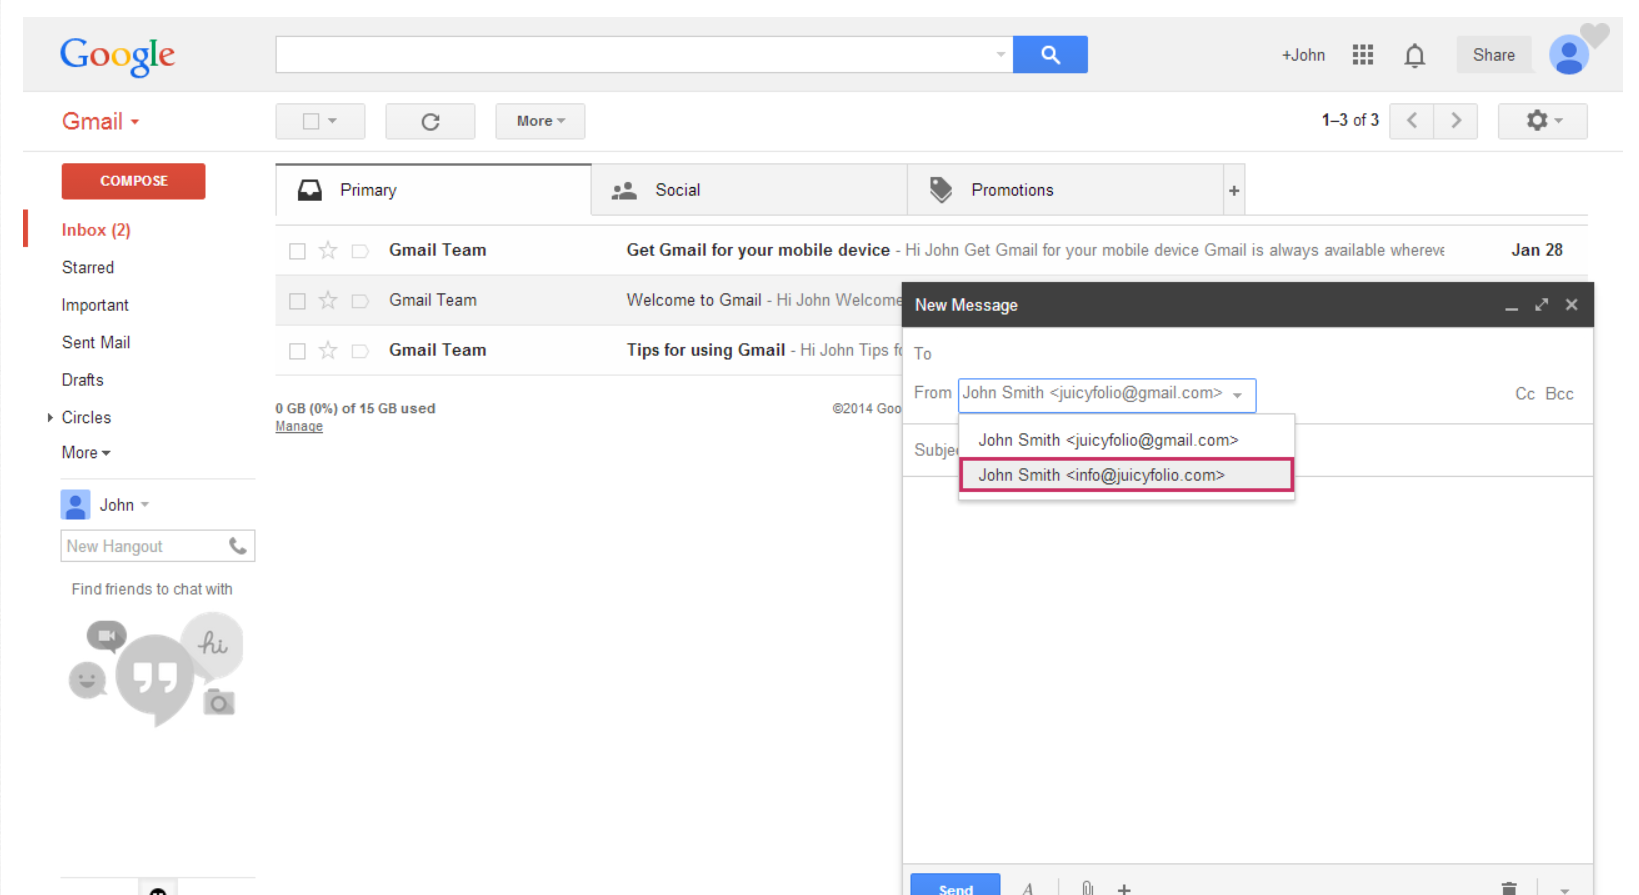
 Google Mail (Gmail)
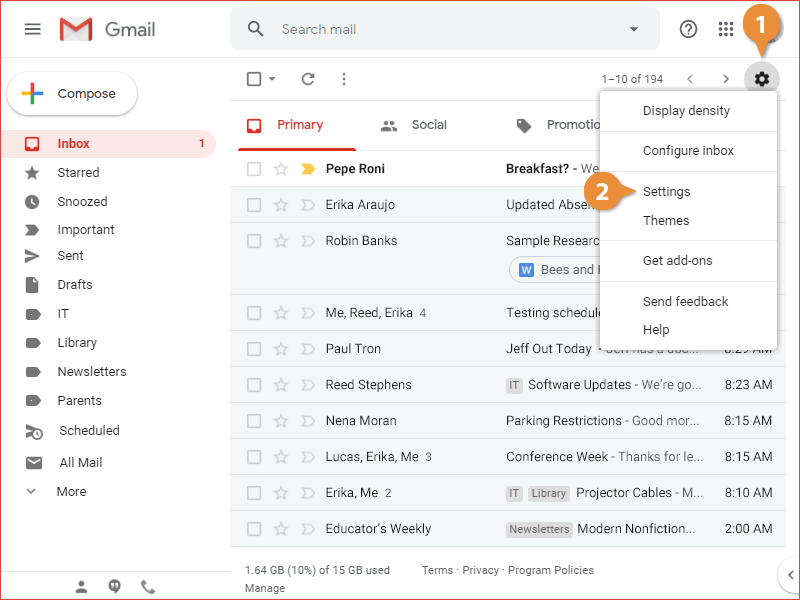
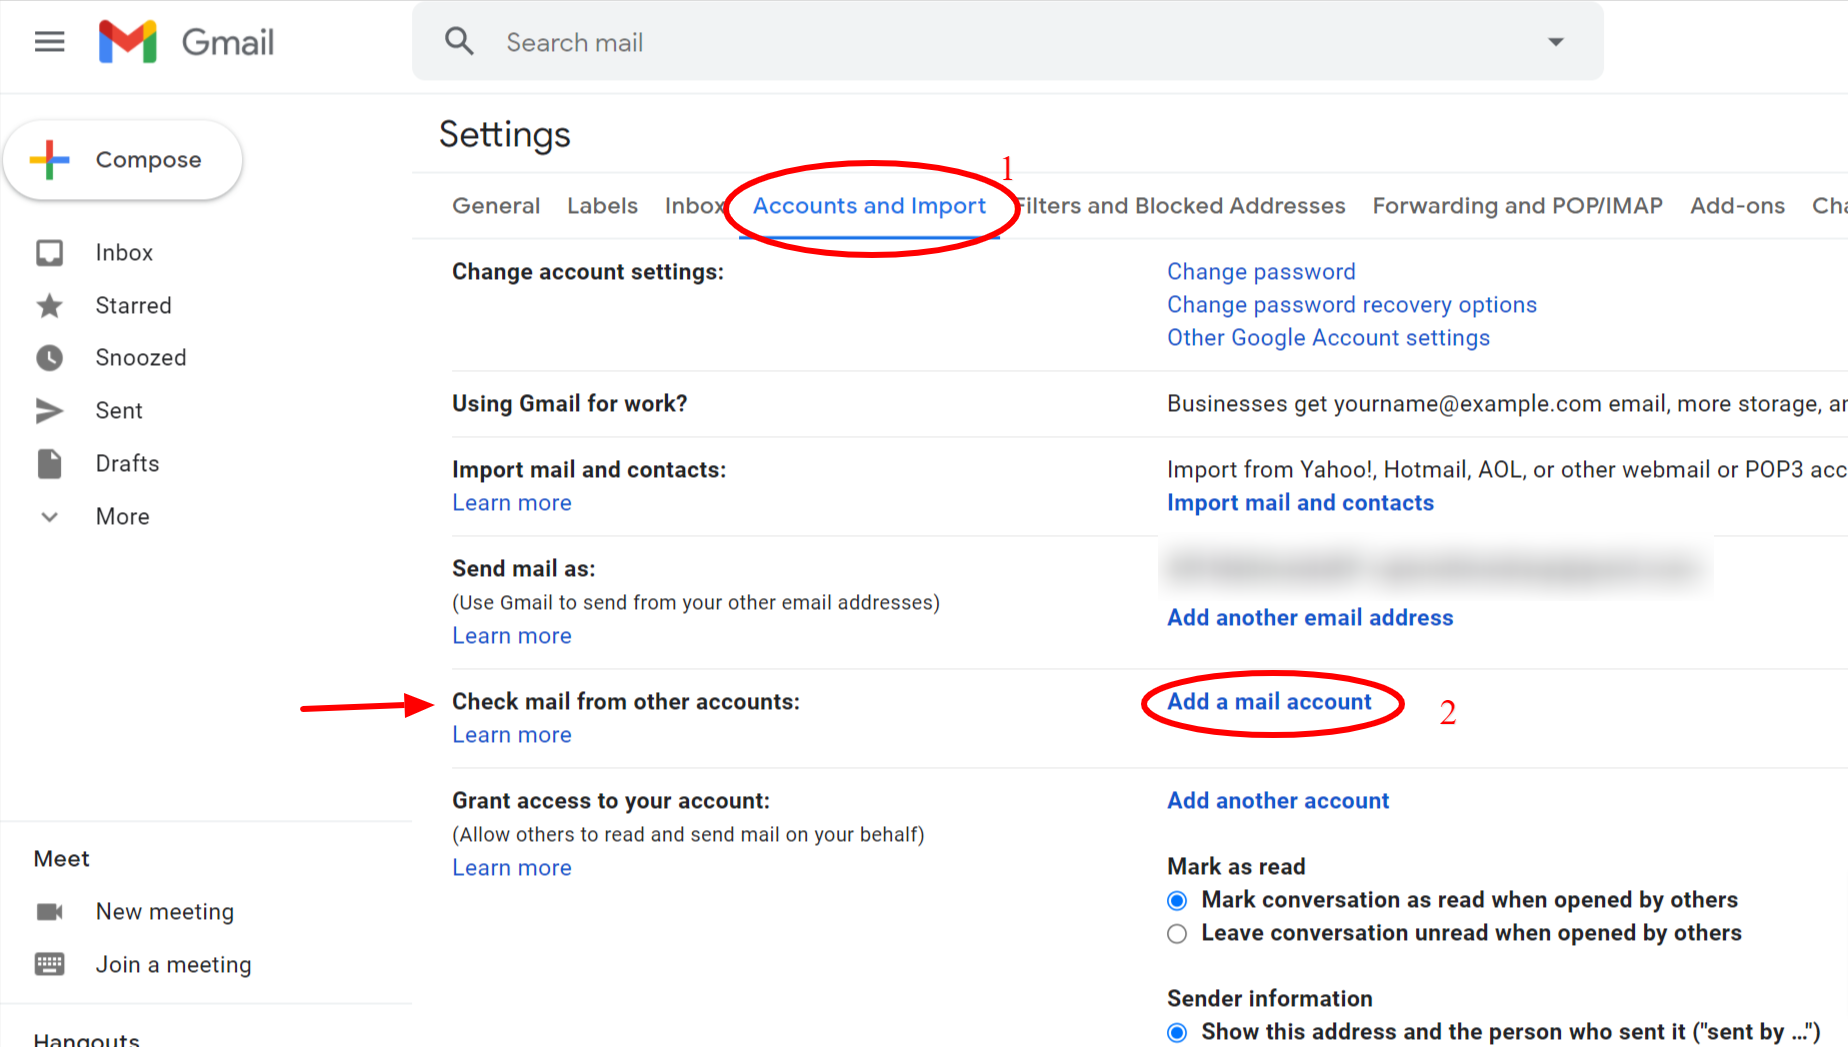
- Click the gear icon and select "See all settings", then go to the "Accounts and Import" tab.
- In the "Send mail as" section, click "Add another email address".
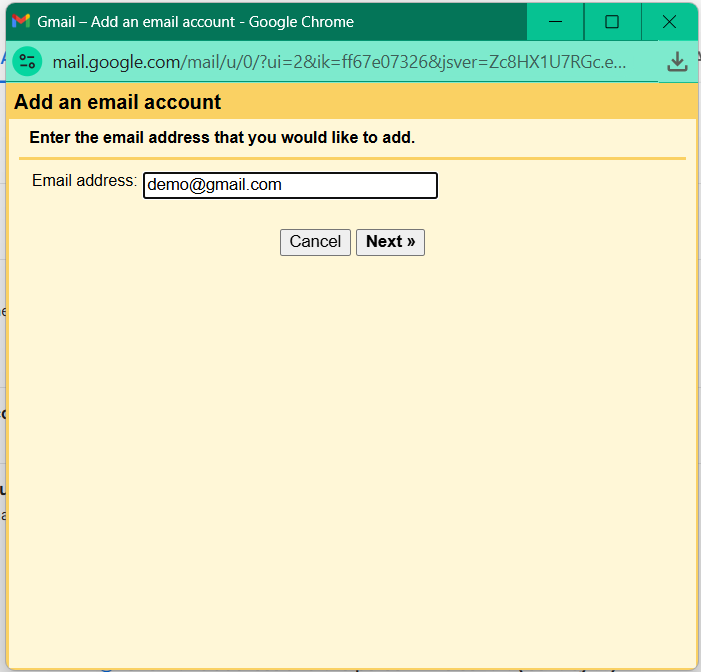
- In the popup window:
- Enter your name and the email address demo@your-name.com
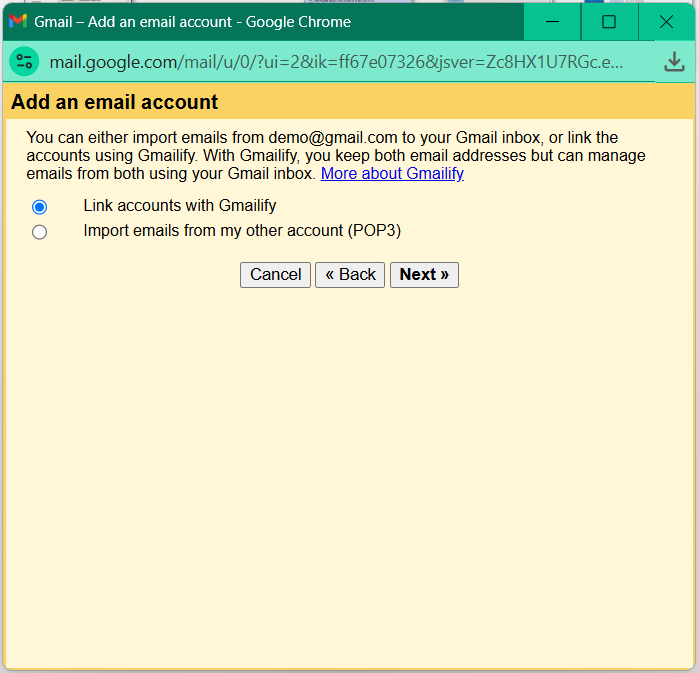
- Uncheck "Treat as an alias" if you want distinct sender addresses
- Click "Next Step"
- Complete the verification process:
- Gmail will send a verification code to the new address
- Enter the code when prompted
- Click "Verify"
- Once verified, you can select the sender address when composing new emails.

Tip: The verification process typically takes 1-2 minutes. If you don't receive the code, check your spam folder.